I bought a fixer upper in the spring of 2019. My son, Sug, and I have been working on it ever since.

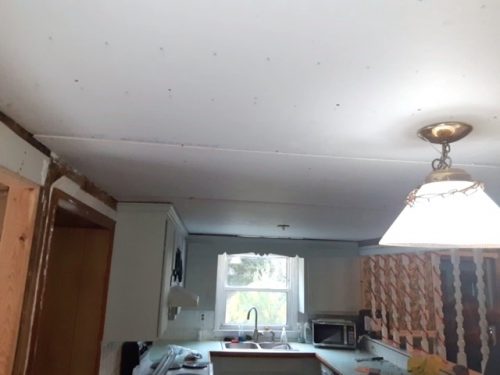
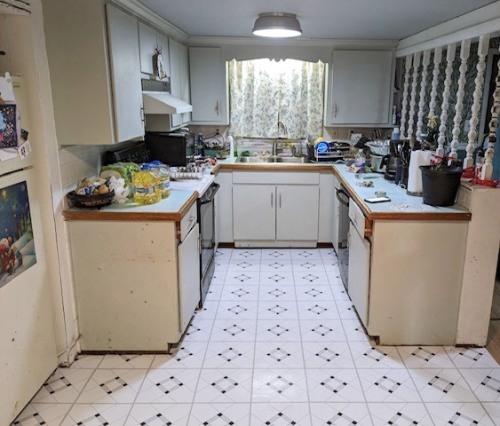
The kitchen was rough when we first looked at the house — holes in the ceiling and floor.
The kitchen needed everything done to it, however, we didn’t replace everything — just the ceiling and floor.

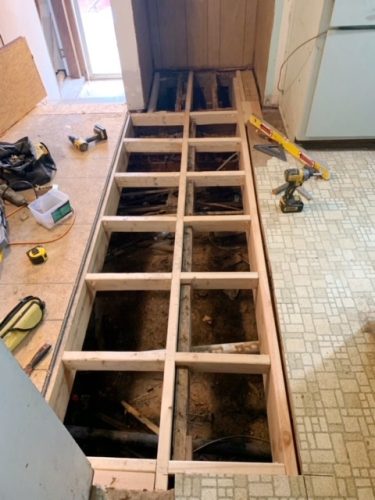
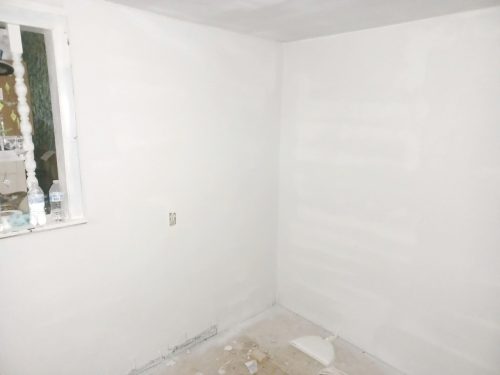
After the subfloor was laid Sug and I painted the room.
My son has finally decided to work on the floor and get it finished. He had already laid a subfloor.

The luan is installed and appears to be a neat, even surface.
The next item was to install the self-stick tiles I had purchased. In order to do that he had to face the subfloor with luan.

The tiles were carefully placed starting from the center of the kitchen.
Once that was complete his friend carefully (following these instructions) stuck the tiles onto the luan.

Before

During
The entire kitchen floor has been tiled.
The only thing remaining for the floor is to add a baseboard around the perimeter of the room.

Before

During

After
I can’t wait to see the finished floor in person.

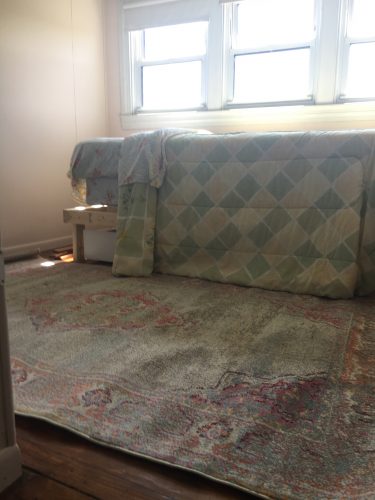
This heavy cabinet will add lots of handy storage space.

Hoping to build a supporting platform under the cabinet and paint it to match. (Mock-up)
Now that the floor is in we can permanently install the large cabinet at the back of the kitchen.
- A Two Faced Kitchen.
- Behind the Kitchen
- Rehanging the Kitchen Door
- Kitchen Sink Fix
- Kitchen at the Shore House
- Updating Kitchen Cabinets
- Painting Old Kitchen Cabinets
- Updated, Painted, and Reassembled
- Kitchen Ceiling Lighting
- Painting the Shore House Kitchen — FINALLY!!
- Partial Floor Repair
Jo